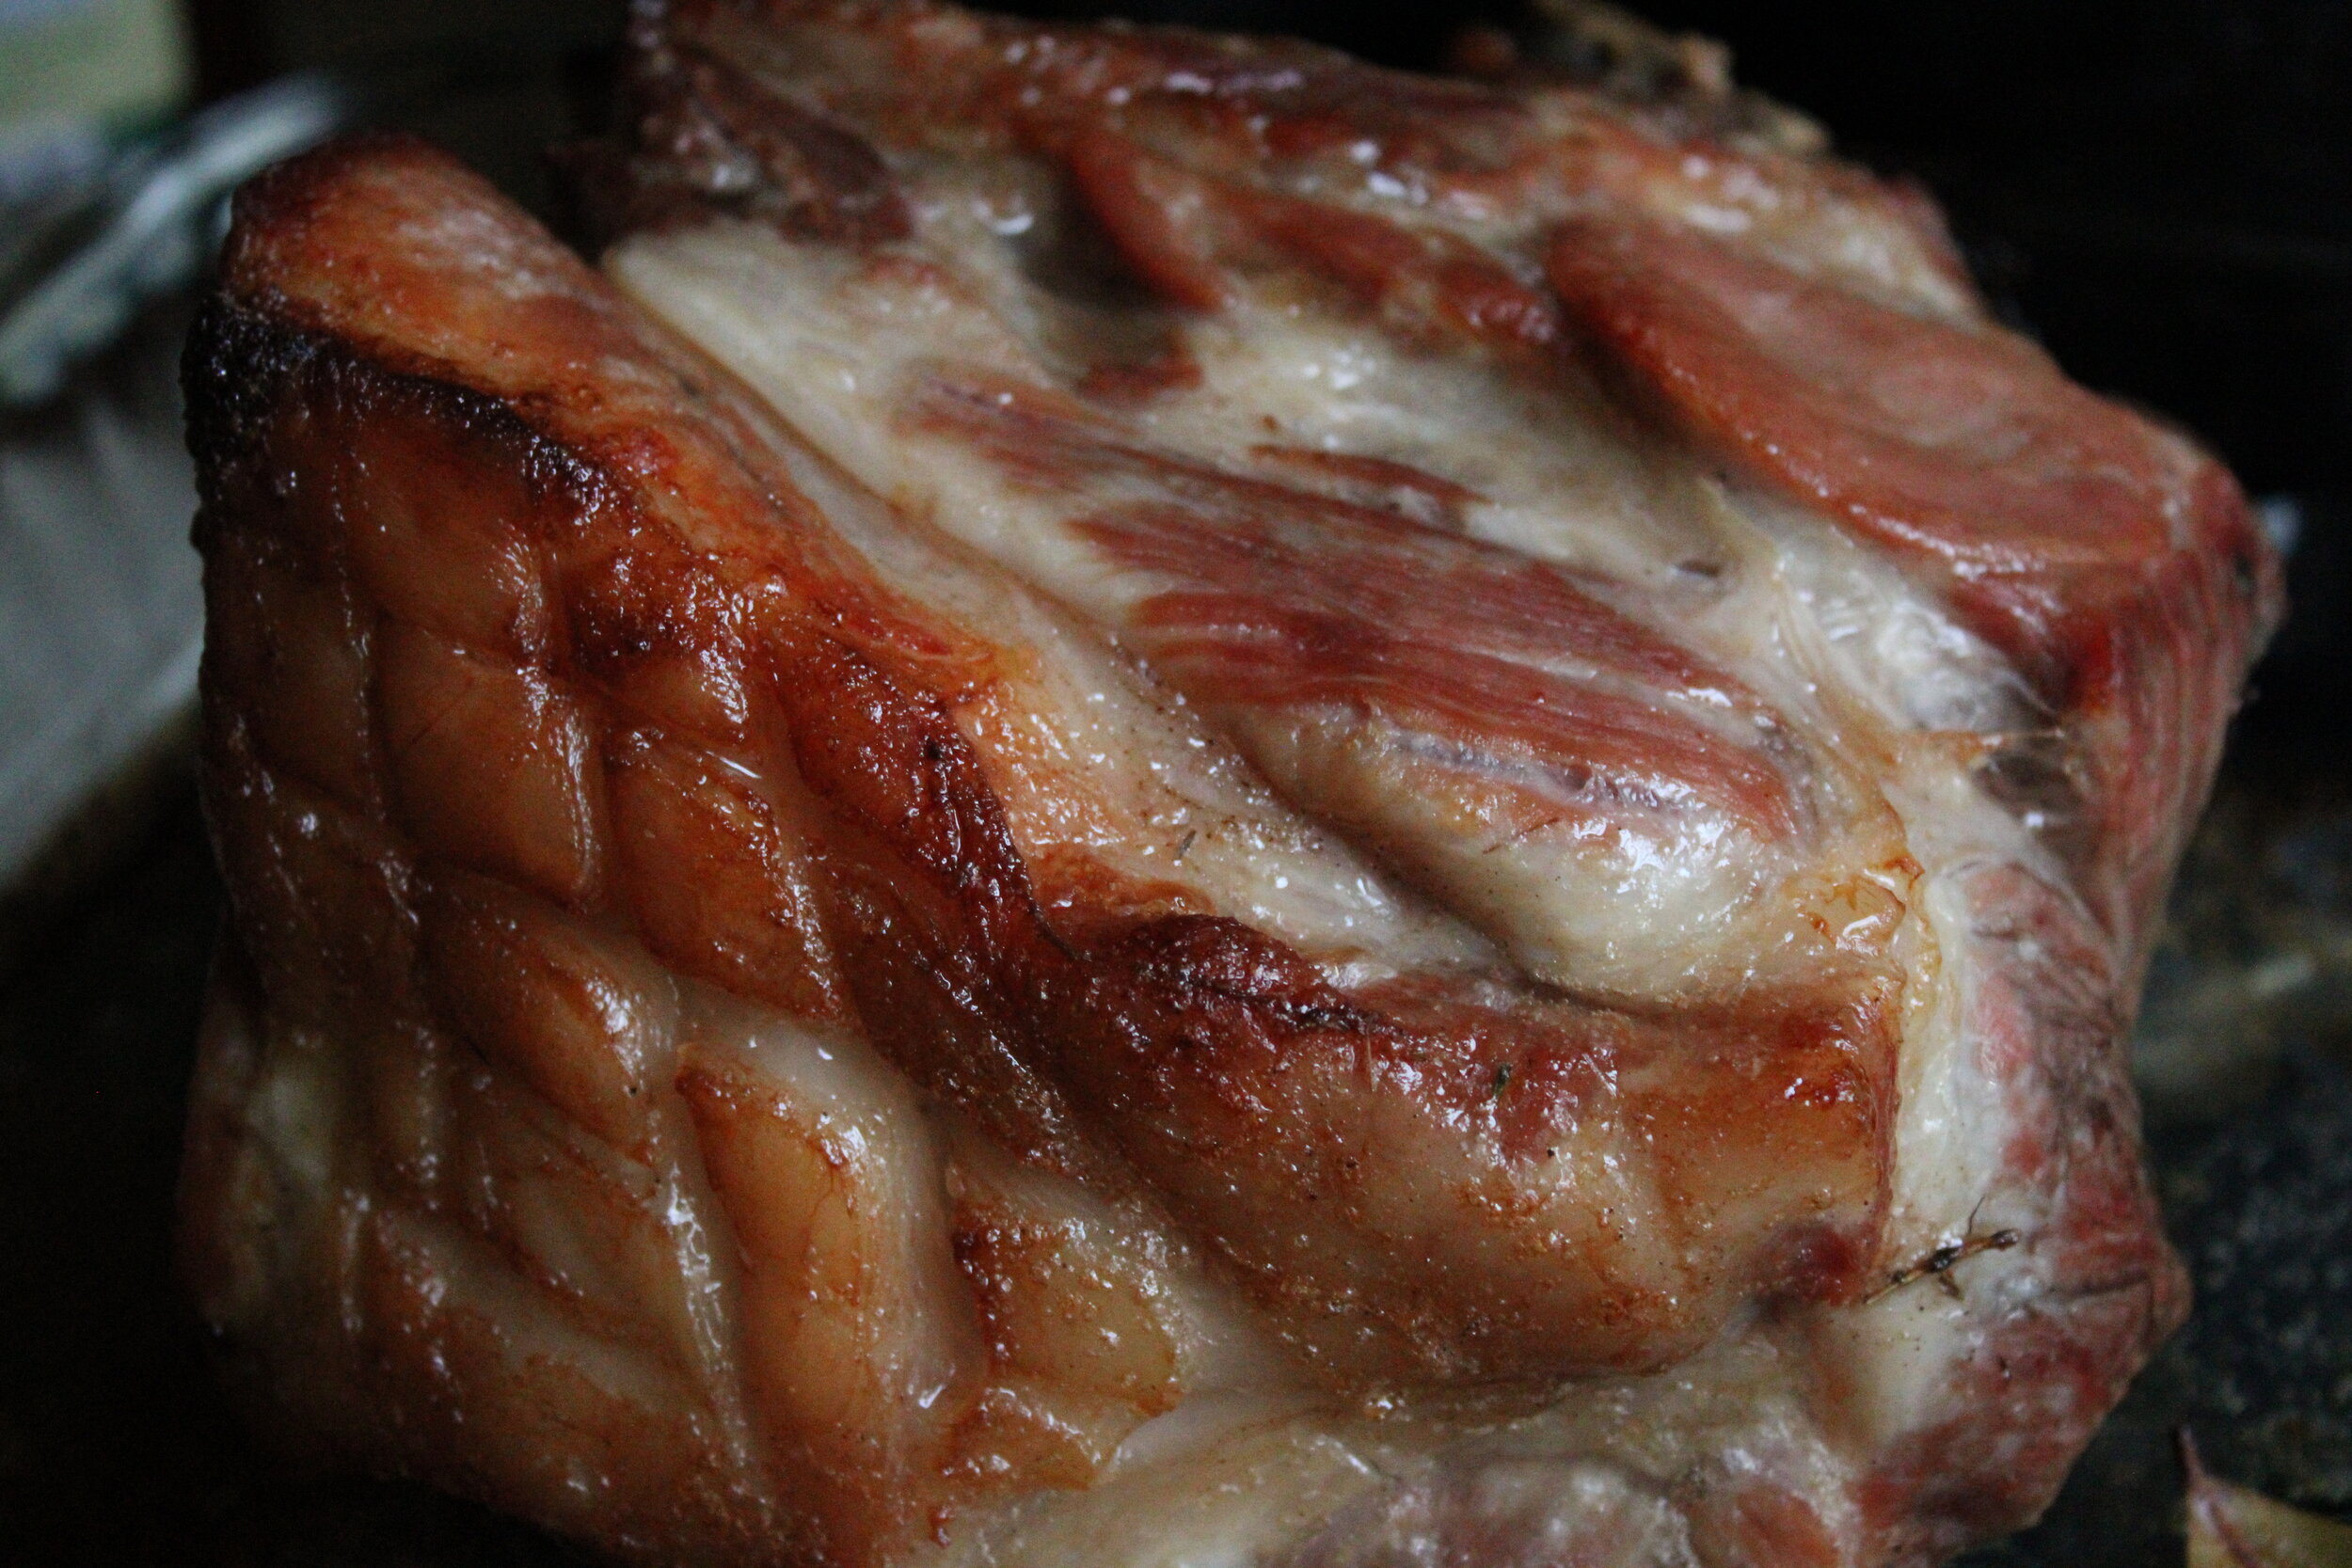
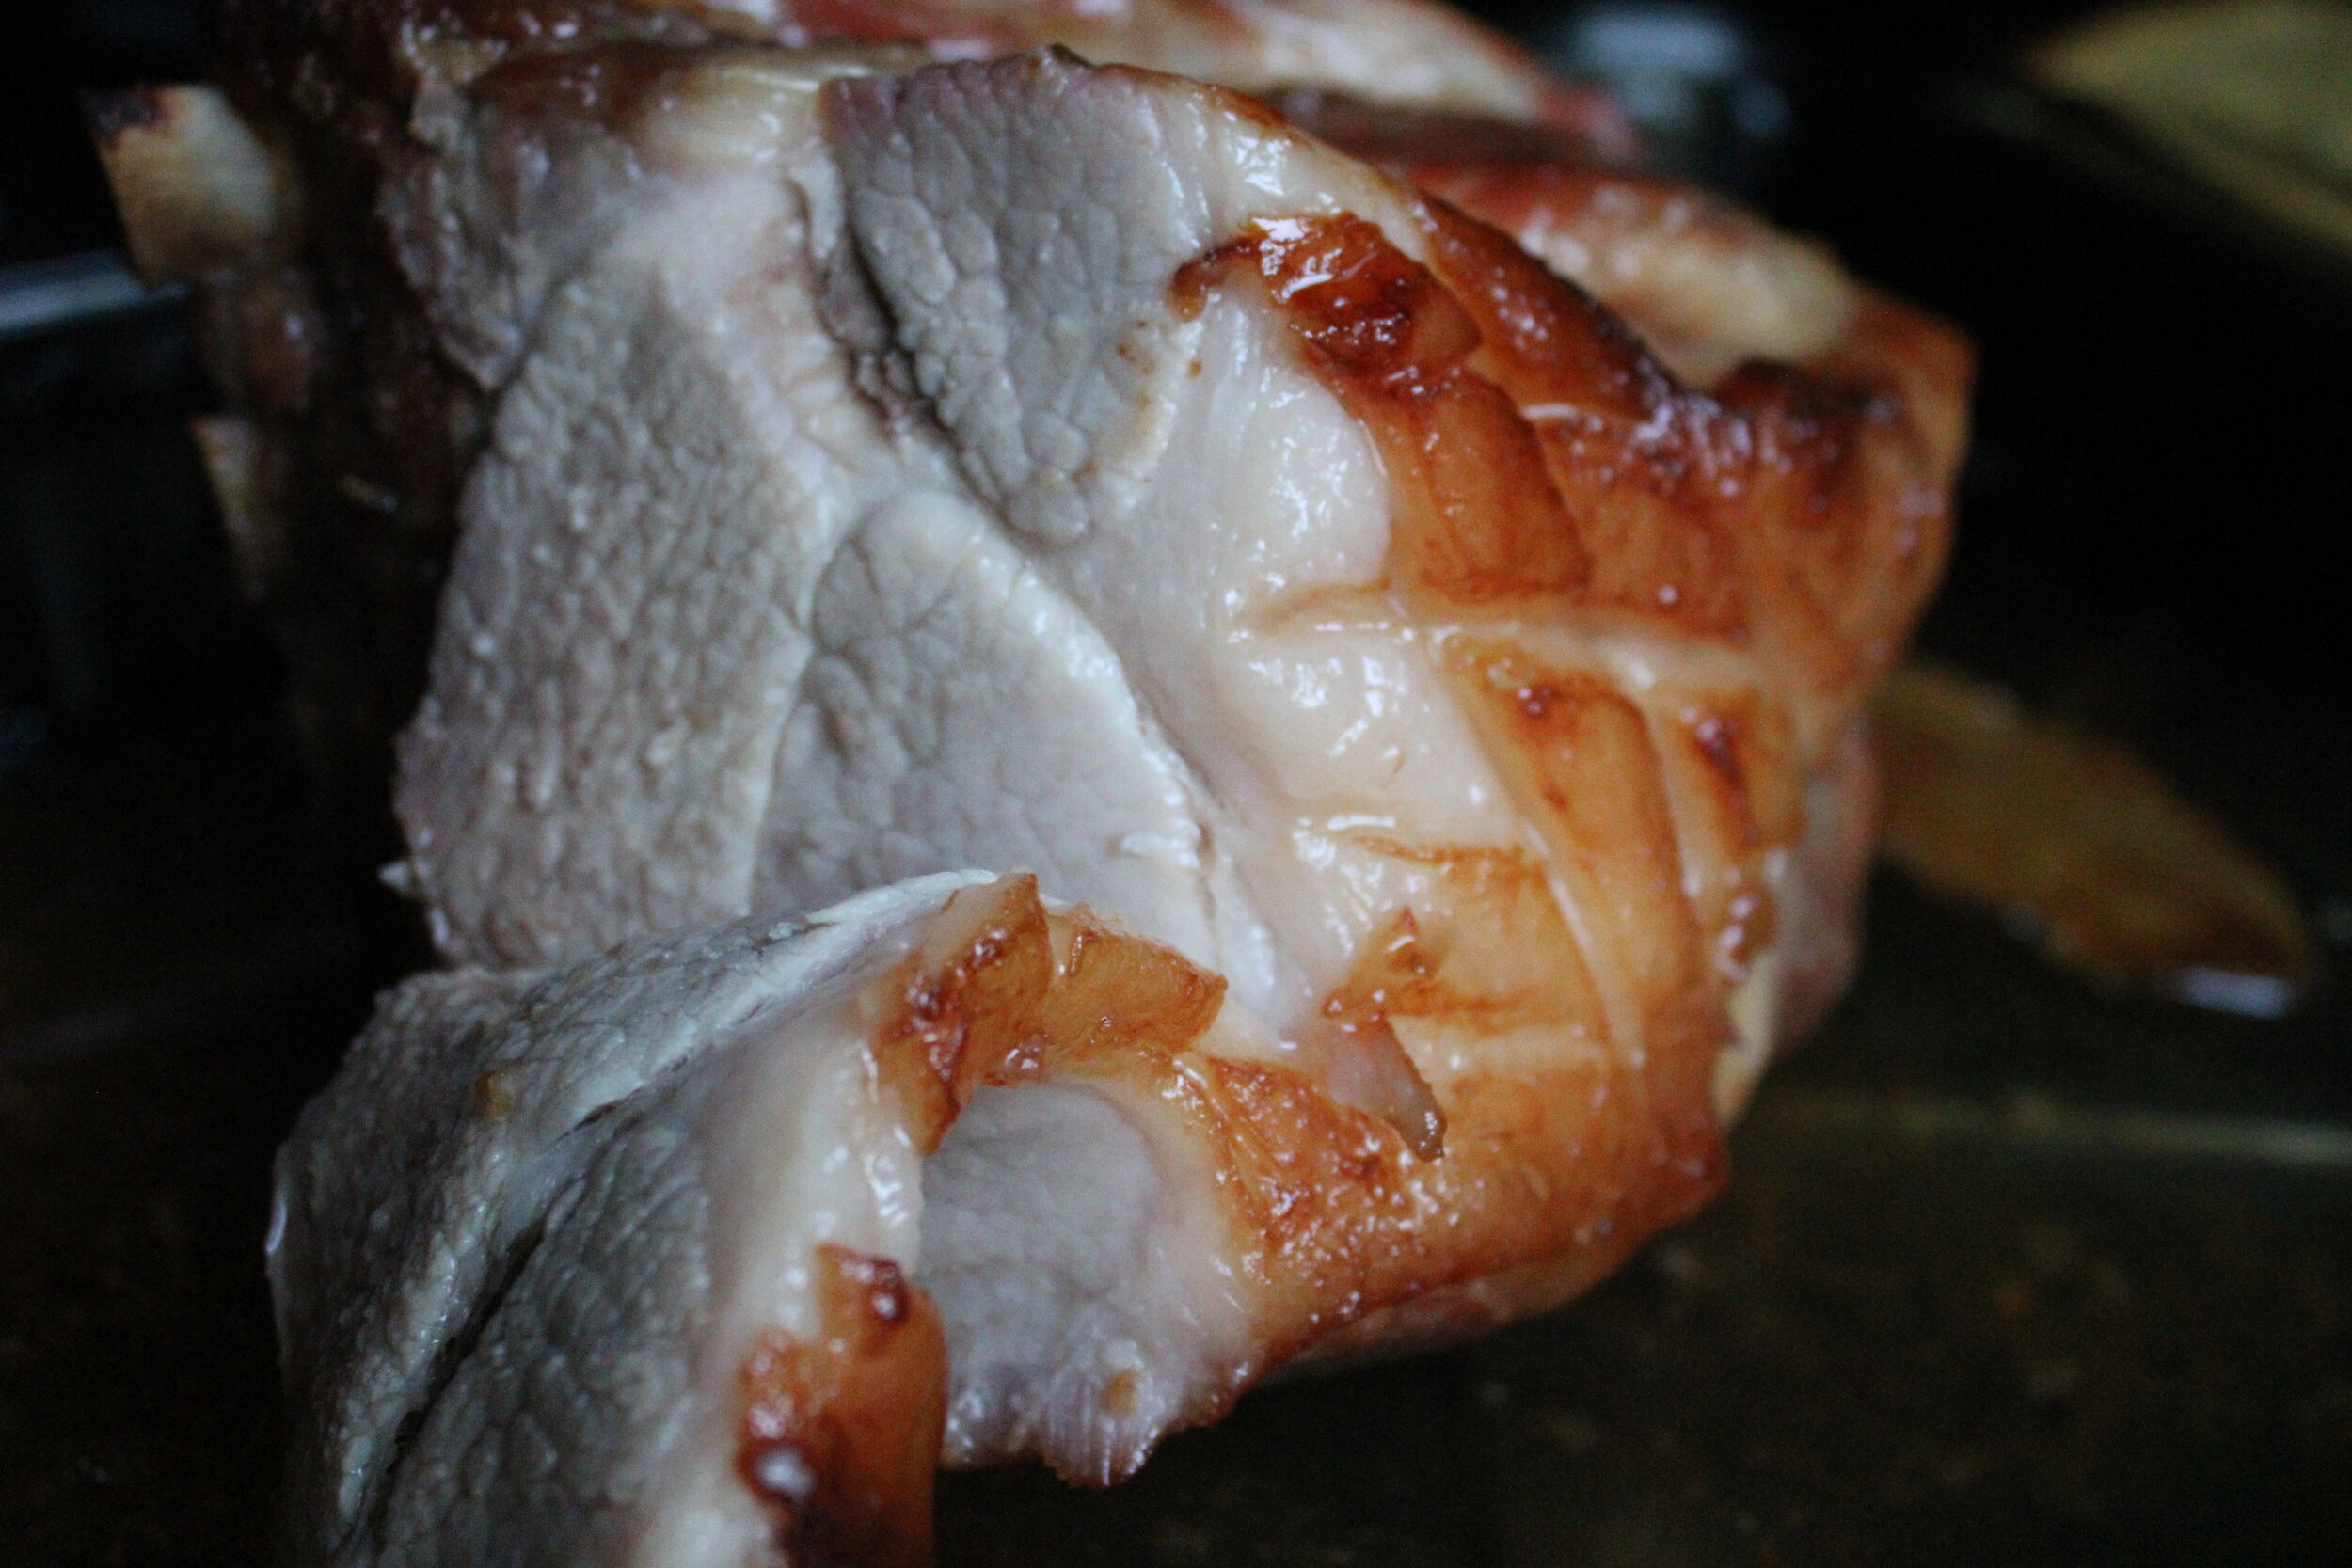
Chapter 1. Apple Glazed Home-cured Ham

There’s something about pork that makes me feel like an extremely wealthy person. The fattiness, the time certain cuts require to get the perfect texture, the look of it. Ugh.
I grew up liking all the cuts of pigs, but especially
chops,
hocks,
tails,
shoulders,
bellies,
ribs,
and hams.
Ham was easily my favorite thing about the Christmas dinner spread, and my mom always dressed it up so pretty.
She’d don the ham with pineapple slices and cloves, and it would often come with a mysterious glaze packet. The ham was pretty huge but would only last a few lunches after Christmas dinner with our large family. I remember grocery shopping with my dad once for a ham, and being shook to find out it cost $40, which to me was equivalent to $1000. So ham has always held a luxurious place in my heart.
Every time I make a ham from scratch I fall in love with the cut all over again. So juicy, sweet, salty and crisp. I skipped decking it out with pineapples because I wanted to go the local, seasonal route with apples. Also skipped the whole cloves because they’re really hard to find for some reason?
Either way, store bought ham is great, but curing it from scratch and making your own cider glaze is whole nother experience. Get you some (if you’re an omnivore)!
The Receipt - Apple Cider Glazed Home-cured Ham
Ingredients:
3.5# Pork Shoulder Bone in (I get mine from Meat Hook)
1 cup Kosher Flaky salt
1 cup Brown Sugar, packed
2 quarts Water for boiling
1 quart Water for cooling
2 tsp Thyme (loved Burlap and Barrel’s hyssop thyme, for the floral notes!)
1 tsp. Black Peppercorns
½ tsp. Whole Mustard
2 Bay Leaves
3 cloves Garlics
¼ tsp. Ground Cloves or ½ tsp. Whole Cloves
3/4 cup Apple Cider (I really like the kind from the farmer’s market, it doesn’t upset my stomach like the store-bought kind does sometimes. A store-bought brand that does work for me though is,
1/2 cup Maple Syrup
3 tbsp. Butter
(NOTE: A lot of ham curing recipes use pink curing salt [not the same as Himalayan pink salt], which is a sodium nitrite that creates that pink flesh color most folks are familiar with when it comes to ham. And although I’m not particularly anti-chemical [since we consume tons of harmless and necessary chemicals everyday] I didn’t feel like going out my way to buy that. Also, didn’t feel compelled to force my ham to be a color it wouldn’t be naturally. No judgement on folks who do though, just noting that I’ve never found it to be necessary. Of course, use your best judgement and research when curing meats.)
Step to It:
Prepare a 4-quart container that has a lid, by adding in spices and garlic. Set aside.
In a medium pot combine sugar, salt, and 2 quarts of water. Cook and stir until sugar and salt has dissolved. Pour this brine into the container and add in a quart of cool water to cool down the mixture. Allow the mixture to completely cool, about 25-30 minutes.
Depending on the shape/size of your container you made need to first remove a few cups of the brine from the container before you add in the pork shoulder. This can be stored in the freezer to save for another brine project (pork chops, fried chicken thighs, etc.), or poured down the drain if you’re wasteful.
Using a sharp knife, cut diamond strikes into the top fat layer of the ham by making 4-5 horizontal lines and then 5-6 vertical lines. Make your cuts deep enough to just hit the meat below the fat.
Add in the pork shoulder into the brine and cover with the lid. Store the pork in the fridge to cure for about 1-2 days. (One tip for this is to allow the pork to cure 1 day for every 2 pounds of meat. So if you decide to double the recipe and make a 7# ham, you’d need to let it cure for at least 3 days. For the amount of meat in this recipe, I went with 1 ½ days of curing.)
One and a half days later: Heat your oven to 325F.
Remove the pork from the brine, and discard the brine. Give the pork a rinse and pat it down with a clean towel. Next you’ll want to get it in a baking dish, with a rack, or if you’re like me, you can skip the rack. Pour about ½” of water into the dish. If you want you can press some of the whole spices into the crevices of the fat.
Pop the ham in the oven and bake for about 1 ½ - 2 hours, if you’re using a large ham, increase the time by ½ hour intervals per pound.
While the ham is cooking you can prepare the glaze. In a small saucepot combine the apple cider and maple syrup and bring to a boil, then lower heat to a simmer and cook to reduce just slightly, about 8-10 minutes. Once reduced add in the butter and stir to combine. Set aside. (Note: I added apple slices to this glaze but it’s an unnecessary step).
After 1 ½-2 hours the ham will be browned, and you’ll want to check the internal temperature for a register of 145F or higher to see if it’s adequately cooked.
One additional step is to glaze it and get an extra crusty top. To do this remove the ham from the oven and use a pastry brush or spoon to spoon the glaze over the ham’s fat.
Increase the oven temperature to 400F, place the ham back into the oven on the highest shelf and roast for about 15-20 minutes more.
Remove from the oven and allow to cool slightly before slicing and enjoying.
. . . 48 hours later
don’t look different but she done transformed, ya’ll
2 (low & slow) hours later . . .
I was impatient and didn’t let this one get super crispy, but you can go for crispy edges if that’s your jam.


